Friday 29 October 2010

Nova Storm Units: Elite Choices 3

The five Space Marine Assault Terminators are finished!

Featuring 4 Space Marine Terminators with dual Lightning Claws and a Sergeant with a Thunder Hammer and Storm Shield.

Used for shock assault on hard-to-kill targets. Ideal for killing low Initiative Necrons as they're all equipped with power weapons to negate We'll Be Back rolls.


Thursday 9 September 2010

Tau Units: HQ Choice 2

While technically this is the second HQ choice, it's the first one to get painted as it's a relatively easy model to put together and paint.

This the first model that I've tried a blending technique on, and although it's not exactly 'Eavy Metal standard for my first attempt I'm quite please with it. The majority of the blending work is on the cloth folds on the front and back and on the skin of the hand and face. I left the metal silver and washed it with blue to get a nice clean feel but I'm not sure if I'm 100% happy with it yet.

I intend to place him in among the front lines as any Tau units with line of sight to him can re-roll failed LD checks. I'l probably play around with joining him to one of the Fire Warrior Teams for now. Should he be assaulted he not too shabby in close combat, with three Strength 5 attacks. He's accompanied by a shield drone because he has no Armour Save at all, and a Gun Drone which provides his only shooting ability, and provides another ablative wound. Neither of the drones are pictured, as I was too lazy to get the out of the case for the photo, sorry.


Thursday 2 September 2010

Random Update - Pre-visit check-list going well

So, remember I said I had a few things to do before my friend came visiting for the week?

So far it's going well. I've finished repairing and repainting the broken Necron Lord, I've finished the three partially completed Necron Immortals, who have now been joined by the fourth which I've built and painted up.

I've completed two Assault Terminators with Lightning Claws and have almost finished the next two, then I've just got the sergeant left to paint.

The second Tau Broadside is almost completed as well, with a shield drone. Just the Team Leader to paint next and they're all done as well.

We also sorted out the hobby/guest room at the weekend to make room for our guest.

However, I haven't sorted the Realm of Battle board or painted any more Tyranids.


Wednesday 18 August 2010

Tau Units: Elite Choice 1

Here's the first of the two XV8 Crisis Suit teams in my Tau Hunter Cadre at the moment.

Consisting of two Suits; a Team Leader with twin-linked Missile Pods a Plasma Rifle and a Shield Drone (not pictured), and a second suit with a Missile Pod and Plasma Rifle with Shield Generator.

Capable of deploying via Deepstrike, moving 6" in the Movement Phase, shooting all weapons (at different target units), then moving another 6" in the Assault Phase, they are a highly mobile team which I envision using for anti-heavy infantry and light vehicle hunting.

The Plasma Rifles can always Rapid Fire or be fired at full range regardless of whether or not the Suits moved as they both have the Relentless rule thanks to being Jet Pack Jump Infantry. At Strength 6 and AP 2 they are good against such heavy infantry targets as Space Marine Terminators as they negate the normal 2+ Armour Save.

The Missile Pods have a range of up to 36" and are Assault 2 weapons; allowing 2 shots per Shooting Phase with Strength 7 and AP 4, allowing some additional fire-power to be landed on hard targets and giving them some bite against lighter vehicles.

They have a 3+ Armour Save and a 4+ Invulnerable Save from the Shield Generator (and Shield Drone), but although they have 2 Wounds each, they will die instantly if they fail a Save against a Strength 8 or higher weapon.


Random Update - What's been going on?

Productivity slowed down a bit lately, mainly due to being on holiday and the opening of a new GW store in my home town, which was a bit of a major suprise really!

I've managed to finish up both Tau Crisis Suit Teams, more Gaunts (I may be saying that for a while...), also about two-thirds finshed on two Assault Terminators.

I've finished off 3 of my good friend J's Necron Immortals by finally gluing in the green rods and gun barrel ends, and have started building a fourth and finally got round to repairing his Necron Lord's Warsycthe which had snapped off at the hand due to an unfortunate gravity/floor/bad angle intersection last year.

All I need to do before he gets here in September is finish an Immortal, paint the repair on the Lord, finish some Assault Terminators (and as many more Marines as I can manage), paint more Tau and Tyranid Gaunts, and flock a full 6x4 foot Relam of Battle Board - in 3 weeks (while working).

No problem...

Thursday 22 July 2010

Tyranid Units: Elite Choice 1

Here's the finished Tyranid Zoanthrope.

Although they can be fielded in broods of 3, I currently only have the one. I really wish they'd release them in plastic as I'd buy more but the current metal model is a pain to put together.

A potent Leadership 10 psyker in the game, it is 'armed' with two psychic shooting attacks; a Warp Lance and a Warp Blast.

The Warp Lance has a range of 18" as Strength of 10, with an AP of 1 which allows it to ignore enemy armour saves, and do increased damage against vehicles. In addition it also has the Lance rule which makes any enemy vehicle armour value higher than 12, count as 12!

Warp Blast is a 24" range Assault 1 Blast weapon with S3 AP3 using the small blast marker and is ideal for killing Space Marines. It once killed an entire squad of Ork Nobz in one shot with this power.

It acts as a Synapse Creature and so helps control the lesser Tyranid creatures such as the Termagaunts by allowing any within 12" to ignore their Instinctive Behaviour, and it causes enemy psykers to  take any Psychic Tests on 3D6 instead of 2D6.

There will be more of these in time, it just comes down to getting everything else done first.


Thursday 8 July 2010

Tyranid Units: Termagaunt Test Models

Here are the two Tyranid Termagaunts that I painted up as testers for the army colour scheme.

Finally settled on a quick paint scheme of the following steps:


  1. Spray Chaos Black Undercoat.
  2. Base coat of Gretchin Green foundation paint.
  3. Paint all armour plates with Hormagaunt Purple foundation paint.
  4. Paint claws and blades Chaos Black.
  5. Wash entire model with Badab Black wash.
  6. Wash armour plates and body with Leviathan Purple wash.
  7. Paint eyes and tounges with Iyanden Darksun yellow foundation paint.
  8. Paint base.
This is a quick paint scheme as after step 1, steps 2-5 can be done in a single sitting. After step 5 you need a day for the wash to totally dry, after which step 6 can be done, and a day later steps 7 and 8 can be done to finish up.

After step 6, further highlighting of the armour plates can be carried out using Hormagaunt Purple on the raised edges if required. This was done on the Zoanthrope as it was a larger model and has some  prominent armour plates with good ridges to highlight.

Using a batch painting process I should be able to do batches of 10 models and get through the 60ish Gaunts in no time.


Random Update - More Painting

Just finished painting the following units:

  • The first Tau Crisis Suit Team, albeit without their Shield Drone.
  • The two test Tyranid Termagaunts by painting the bases up - they now match the Zoanthrope.
  • The Tau Etheral (HQ unit), also without Drones. This features my first real attempt at blending as the folds of the cloth were too tempting not to try it. I think it looks fine for my first attempt.

Pictures and unit descriptions will follow in due course.

Saturday 3 July 2010

Tau Units: Heavy Support Choice 1

Here's the photos of the first usable heavy support unit for my Tau army.

A 298 point, XV88 Broadside Battlesuit Team, with Shield Drones.

With all 3 suits sporting twin-linked sets of the longest-ranged, most powerful weapon in the game, the 72", S10 AP1 Rail Cannon which is ideal for tanks and large creatures, together with 2 Smart Missile systems which allow for a total of 8 shots that ignore line-of-sight and can take down light vehicles and infantry with ease and the Team Leaders' twin-linked Plasma Rifles for some shorter ranged defensive power they can, on paper, at least "bring the rain".

They are able to move slowly and still bring the guns to bear on targets, and have the ability to split fire between 2 enemy units and the Team Leader can target a different enemy unit to the rest of the squad.

With a heavy 2+ armour save, backed up by 2 Shield Drones with 2+/4+ Invulnerable saves, and 2 Wounds each they should be able to weather a decent amount of fire-power before going down.

These guys should bring some heavy hitting which has been sorely missing in my last few games with the Tau.

More pics when they're fully painted, however for now here they are in all their glory:

Whole team


Team Leader and Drones

Thursday 1 July 2010

Nova Storm Units: Elite Choices 2

Here's the newly finished 5th Company Dreadnought. A towering metal walker machine piloted by a critically wounded Space Marine, who is now wired into the machines controls and life support until final death takes him.

It's the model from the Assault on Black Reach box set, and is therefore armed with a Multi-melta and Storm Bolter, and a Dreadnought Close Combat weapon.

Being a Walker unit, it moves the same was as Infantry which means it can traverse Dangerous and Difficult terrain the same way, which allows it to enter buildings and other areas where traditional vehicles cannot go.

It can move and fire both weapons, and is most useful in an anti-vehicle or monstrous creature role due to the Multi-melta which gives it a 24" range S8 AP1 shot (with an 2D6+8 for vehicle armour pen. if within half range.)

It has a decent front armour of 12, which all shots are directed against to represent the manoeuvrability of the machine, never retreats from assaults, and can perform Death or Glory! against other vehicles that attempt to Ram it. (A Dreadnought punching out an enemy tank makes me chuckle..)

It is equipped with Smoke Launchers and a Searchlight, neither of which have been modelled on yet, but they will be later when I've found some parts.

In games with no vehicles or other units worth hitting with the Multi-melta, it makes a great tar-pit for large units of fearless but weak infantry (I'm looking at you Termagaunts...) where it cannot be harmed as the minimum Strength needed to Glance the Dreadnought is 6, and can, if it hits, auto kill 4 enemy per player turn. (until the savvy Tyranid player realises that all he need do is move his Synapse Creatures out of range, removing the Gaunts Fearless rule and sending them scampering for cover. That's not happened yet though!)


Nova Storm Units: Elite Choices 1 - Concluded

Here's the second 5 man Combat Squad of the 10 man Terminator Squad that makes up the first Elite choice of the army.

This Combat Squad consists of 4 Terminators with Storm Bolters and Powerfists, and the Terminator with Heavy Flamer and Powerfist. Unlike the first half, their primary use is anti-infantry or heavy shock troops, delivered into the enemy battle lines via the Deepstrike rules.

Capable of laying down 8 Strength 4 shots from the Storm Bolters and 1 Strength 5 Template shots from the Heavy Flamer; all while moving and backed up in assault with of 10 Power Weapon Attacks from the Powerfists which are at Strength 8, and all of which Ignore Armour Saves make this unit an all round threat to anything nearby.

The downside is they can't Assault after arriving by Deepstrike; although they can shoot. They can also take a significant amount of fire due the their 2+ Armour Save and 5+ Invulnerable Save (for those occasions that they are hit by an AP1 Melta weapon or some form of heavy ordinance weapon).

As Marines they have the standard And They Shall Know No Fear rules, along with Combat Tactics.


And finally, here's the unit in it's 10-man entirety:


Thursday 17 June 2010

Hobby Update: Realm of Battle board and more


So, been a bit slow on the hobby front lately what with holidays and hospital appointments.

Still, I'm back on it now, and took full advantage of a Sunday afternoon of good weather a few weeks ago as I broke out my Realm of Battle game board and got painting. I took me two hours, but it's now painted and dry-brushed and is a lovely shade of mud colour now.

Just need to find time to crack open the PVA and flocking materials so I can start flocking each of the tiles...

I've also managed to finish the 10 man Terminator unit completely, and have practically finished the Dreadnought too. I'll be putting photos up when I've had a chance to take some.

Thursday 18 March 2010

Batrep 14-03-2010 - Nova Storm Marines v New Codex Tyranids


Approx 790 points

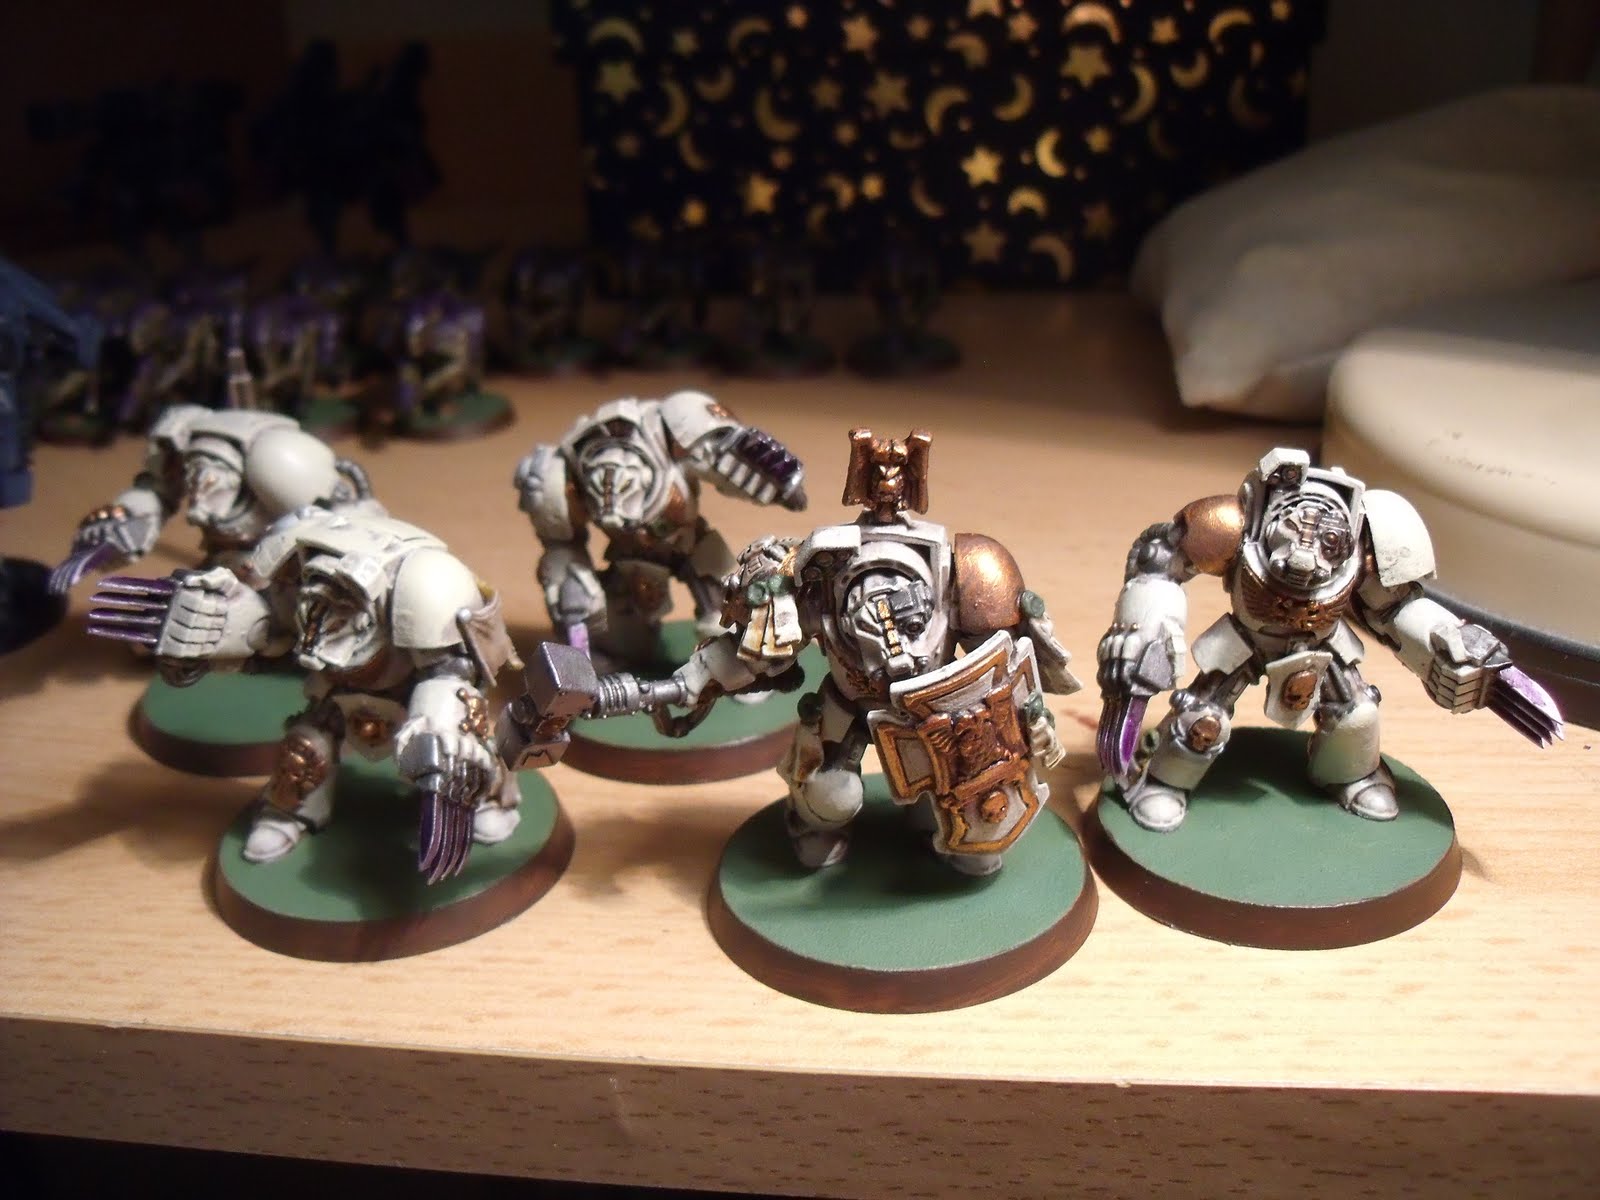
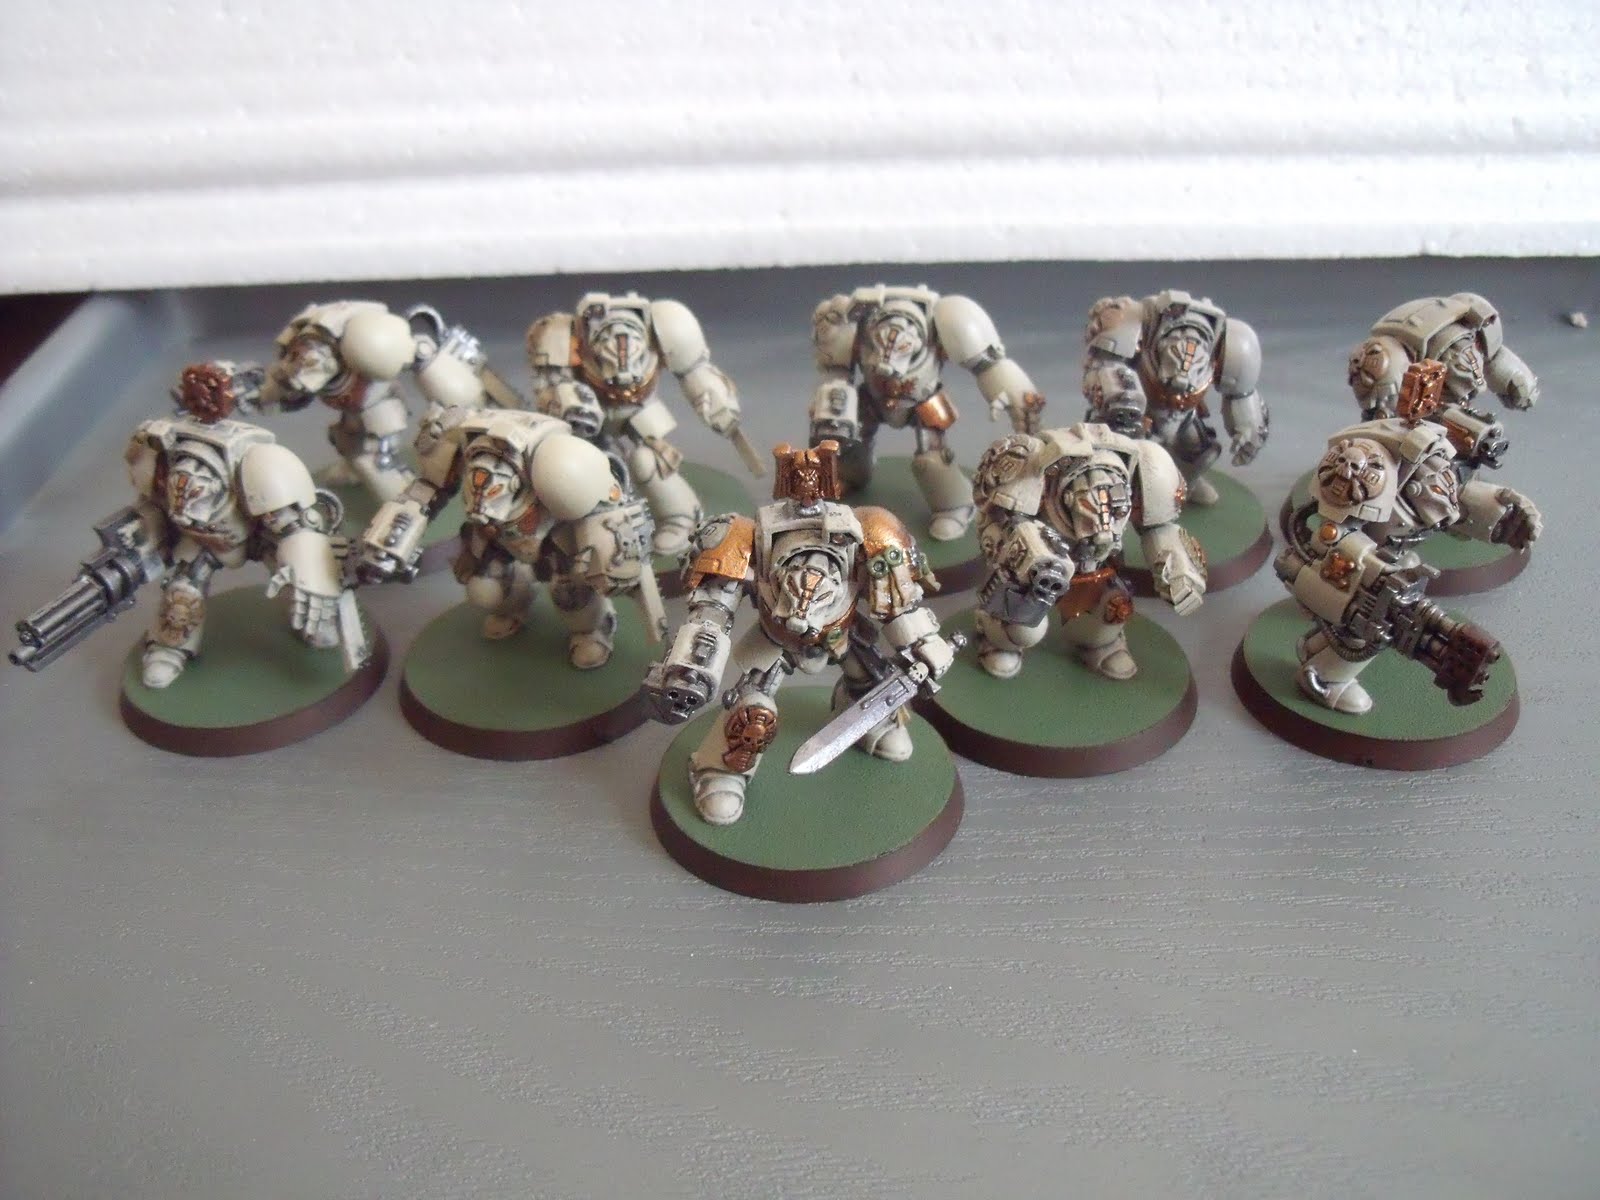
Marines (21, 1 Dread, 2 Vehicles)

Force Commander
Tactical Squad 1 (Sergeant with SB & PW,  Heavy Bolter, Plasma Gun) in Drop pod
Tactical Squad 2 (Sergeant with Storm Bolter & PW, Plasma Cannon, Plasma Gun)
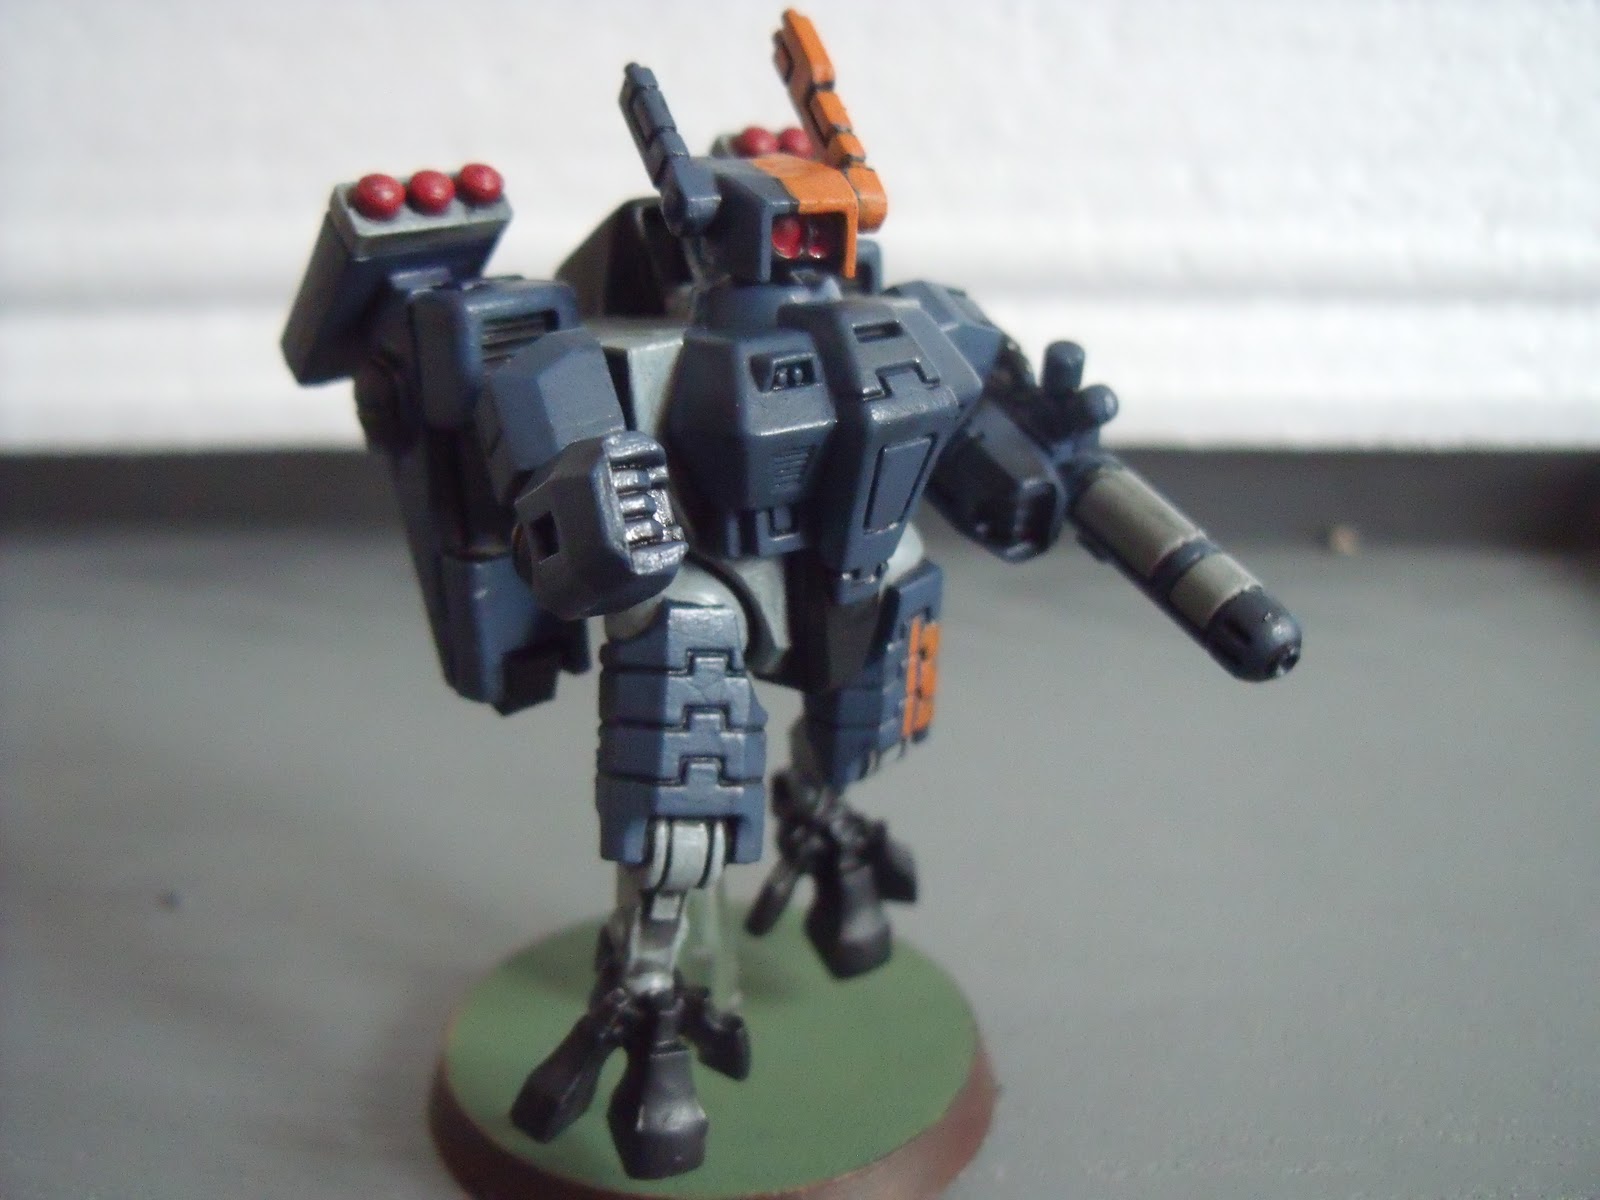
Dreadnought with Multimelta
Whirlwind

Tyranids (29 and 14 Spore Mines)

Hive Tyrant
21 Termagaunts
Zoanthrope
6 Warriors
3 Spore Clusters (5,5,4)

Mission

Capture and Control with Dawn of War deployment

Pre Game

Marines win first turn and choose deployment edge

Choose to deploy on side with both hills to provide clear lines of fire

Place objective in crater 4 inches from edge in left hand half of board

Tyranid objective in opposite corner in Wooded Area Terrain

Spore Mines deploy using Orbital Deployment and land in 3 groups in Marine Deployment Zone

Marines deploy with Force Commander on hill, and Tactical Squad 2 split into Combat Squads. Combat Squad 2a with Sergeant and Plasma Cannon deploy next to the Marine objective, while Combat Squad 2b deploy further towards the middle line of the board to advance towards the Tyranid Objective.

Dreadnought and Whirlwind and left to come on in Turn 1, with Tactical Squad 1 in Drop Pod in Reserve.

Tyranids deploy with Hive Tyrant and 21 Gaunts near the centre line, ready to advance. The Warriors are next to the Wooded Area Terrain and Objective, but crucially not within 3" of it.

Tyranids attempt to Seize Initiative and fail, so Marines still get first turn.

Turn 1

Night Fight is in effect.

Marines

Tactical Squad 1 arrives by Drop Pod, landing in the Tyranid corner with the objective and crucially not scattering off the board (rolled a hit on the scatter dice!) Deploy into Combat Squad 1a with Sergeant and Plasma Gun, and Combat Squad 1b with the Heavy Bolter. Combat Squad 1a is within 3" of Tyranid Objective after deployment and Marines capture the enemy objective!

Combat Squad 2a attempt to shoot the spore mines nearby and kill them with Bolter rapid fire, unfortunately the Plasma Cannon shot scatters 6" back towards the Cluster of 5 marines and hits the Plasma Cannon marine and the Sergeant, killing the both despite their cover save from the crater!

Tyranids

The remaining Spore Mines scatter randomly but are all too far away to be of major consequence.

Gaunts and Hive Tyrant advance on the Marine Objective, but are unable to spot any targets or are out of range.

Warriors shoot at Combat Squads, but fail to wound.

Zoanthrope comes in near the Drop Pod, fires its Warp Lance power at it and destroys the Storm Bolter!

Turn 2

Night Fight is now lifted.

Marines

Dreadnought moves towards the Gaunts and fires Storm Bolter failing to do any damage.

Combat Squad 1b fires 8 Bolter shots and 3 Heavy Bolter shots at the Zoanthrope and kill it.

Force Commander joins Combat Squad 2b and moves up the board, shooting at the Warriors with the Force Commanders Hellfire Rounds and Auxiliary Grenade launcher which cause 3 wounds.

Dreadnought Assaults the Gaunts, tying them up in Combat and preventing them from moving and capturing the Marine Objective as the other Tyranid Troops choice, the Warriors is occupied with clearing Marines from their own Objective! 6 Gaunts and killed in the charge, but they are incapable of hurting the Dreadnought! Due to the proximity of the Hive Tyrant they are fearless and stay in the fight.

Whirlwind hits the Warriors causing several wounds.

Tyranids

The remaining Spore Mines scatter randomly but are all too far away to be of major consequence.

4 more Gaunts die in assault with the Dreadnought.

Warriors kill 2 marines in Combat Squad 1b, and they fail their Morale Check and fall back far enough to bunch them together near the other Combat Squad.

Turn 3

Marines

Dreadnought fails to kill any Gaunts in Combat.

Combat Squad 1b rallies fires at the Warriors causing several wounds.

Combat Squad 1a fires at the Warriors causing several wounds.

I totally forget to move the Commander and Combat Squad 2b!

Whirlwind may or may not have hit the Warriors, killing 1 of them.

Tyranids

The remaining Spore Mines scatter randomly, two are getting near the close combat, one runs into another and is removed.

Hive Tyrant moves up to assault the Dreadnought, but cannot yet as his own troops are blocking the charge! It fires at Combat Squad 2a on the Objective and kills 2 of the remaining 3 marines. The last one fails the Morale Check at LD8 and flees off the board (he was only 3" from it!). This leave the objective contested by the Whirlwind and in danger of being captured.

Warriors shoot at Combat Squad 1b again, but don't do much.

2 more Gaunts die in Combat.

Turn 4

Marines

Both Combat Squads from Tactical Squad 1 fire at the Tyranid Warriors who have now taken two wounds each, and they begin to die. The Whirlwind assists them. There are only 3 Warriors left.

Force Commander and Combat Squad 1b move across the  board towards the Hive Tyrant, and run to make up ground.

Dreadnought kills 1 more Gaunt, which opens up a gap for the Tyrant to charge into!

Tyranids

The remaining Spore Mines scatter randomly, one goes between the Tyrant and the Close Combat and into the potential path of the Force Commander.

Warriors continue their fire fight with the Combat Squads 1a and 1b, but are still unable to dislodge them from the Objective.

Hive Tyrants uses the Paroxysm power on the Dreadnought (we ruled that although it is a vehicle and RAW prevents it from being used, the Dreadnought has a WS and BS value, and is piloted by a living being and could therefore be affected. Until this is FAQ'ed by GW this will work for me).

The Dreadnought has WS and BS reduce to 1 by the Hive Tyrant, which then charges in to combat. It hits with all 5 attacks, and causes 4 penetrating hits; a Crew Shaken, Weapon Destroyed, Crew Shaken and Destroyed - Wrecked. The Dreadnought is destroyed, and the remaining Termagaunts consolidate towards the Marine Objective. The Tyrant moves towards the Force Commander.

Turn 5

Marines

Force Commander splits from the Combat Squad, and moves towards the Tyrant. He passes his LD test to charge it and charges into Combat after firing both the Flamer and Auxiliary Grenade Launcher at it - both fail to wound.

Combat Squad 2b moves back towards the Marine Objective to try and stop the Gaunts from taking it.

Tactical Squad 1 still hold the Tyranid Objective - just, and their Drop Pod is still close enough and intact so that it would be contesting it even if they died, and the Warriors claimed it back.

The Whirlwind moves as close to the Marine Objective as possible to ensure that it is contesting it if needs be. It moves into the crater and passes it's Dangerous Terrain test, but I wasn't too bothered if it did fail as I had no intention of moving it any more.

Force Commander does 2 Wounds to the Tyrant in Combat, but takes 1 back due to its Acid Blood. The Tyrant hits the Commander 3 times, wounding twice and the second wound causes Instant Death due to the Implant Attack rule which states that any 'To Wound' roll of a 6 causes Instant Death! The Force Commander is killed despite having a single wound remaining.

I will now point out that I totally forgot to use his Iron Halo Invulnerable save against all the Wounds caused by the Tyrant in combat! So he might not have died! I think I just got a bit over-excited.

Tyranids

The remaining Spore Mines scatter randomly but are all too far away to be of major consequence.

Hive Tyrant regenerates all 3 lost wounds, and advances towards the Marine Objective and the Whirlwind sitting next to it. It opens fire at the Whirlwind with 6 twin-linked, Strength 6 Devourer shots in a desperate attempt to at least destroy the tank and force a Draw, but fails to damage it.

The remaining 3 Gaunts move towards the Marine Objective, but can't get close enough to it.

Tyranid Player rolls for Random Game Length and rolls a 2. End of Game.

Result

Marines win.

They hold the Tyranid Objective, and the remaining Tyranid Warriors are just too far away to be contesting it. The Marines are not holding their own objective, but the Tyranids have not captured it either.

Saturday 27 February 2010

Random Update - Follow-up from Christmas and minor progress

So, it's been a few weeks since Christmas and in that time I have managed to finish the last Space Marine Tactical Squad that was actually assembled and waiting for painting, and another Terminator Marine.

That means I have so far painted the following:

1 Chaplain
40 Tactical Squad Marines
10 Devastator Marines
10 Scouts
6 Terminators

All I have to do now is finish another 4 Terminators, 5 Assault Terminators, 1 Dreadnought, 5 Command Squad Marines, 1 Commander and 5 Assault Marines and I can finally start on the vehicles!

On the Tau front, I've finished the last 6 man Fire Warrior Squad, so that's all the basic Troops done (other than repainting squad markings). Just waiting for my new Gorilla Super Glue to arrive so I can start on the 5 metal Vespid Stingwing troops, the 2 Broadsides, and the Sniper Drone team then I can start on the second wave of Tau painting which also includes a repaint of 1 previously finished Broadside, four built Crisis Suits, an Ethereal and the Commander (Forgeworld model) and Bodyguard.

I'm painting up a second test piece for the Tyranids to refine the speed technique before I embark on painting 53 basic Troops. When the weather gets a bit drier I can use the new Citadel Spray Gun I bought myself at Christmas and batch spray entire squads with the base coat - that should speed the job up!

For a Summer project I have a nice new Citadel Realm of Battle modular game board to paint and decorate. This definitely has to wait for summer though as it's a big job; 6 2x2 foot panels that need undercoating, base coating, drybrushing and flocking as fast as possible.

When the new glue arrives (see above), I can also build and paint my Griff Oberward Collectors Range mini from Christmas, so I can field him as my No 1 Team Captain Blitzer in my Human Bloodbowl team; the Altdorf Imperialists.